主机的虚拟化系统之proxmox
公司有3台配置服务器,准备做成虚拟机,有考虑VMware,毕竟有图形化界面方便操作,可是没有license,找个开源的proxmox,发现安装过程简单,安装后配置也没那么麻烦,底层是qemu,安装Windows、MAC都没问题,并且操控虚拟机和VMware、Openstack同样方便,顺便记录一下过程
Proxmox VE是一个运行虚拟机和容器的平台。它基于Debian Linux,完全开源。为了获得最大的灵活性,我们实现了两种虚拟化技术——基于内核的虚拟机(KVM)和基于容器的虚拟化(LXC)
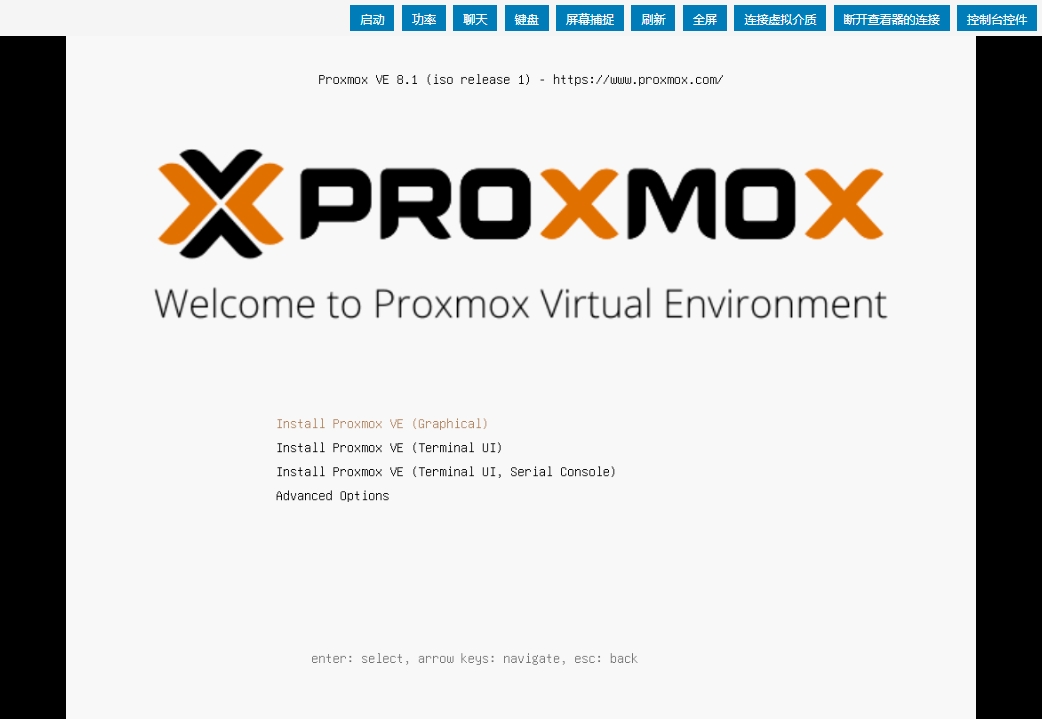
下面是在三台主机安装基于debian的社区版Proxmox虚拟平台,存储使用ceph,安装系统的。首先下载系统镜像 https://proxmox.com/en/downloads Proxmox VE 8.1 ISO Installer,用rufus软件把镜像写入到U盘,当然其他软件都可以,像平时安装系统一样,完成后登录服务器
1,更改镜像源,更改为没有订阅的社区版版本
# vi /etc/apt/sources.list.d/pve-enterprise.list
#deb https://enterprise.proxmox.com/debian/pve bookworm pve-enterprise

# vi /etc/apt/sources.list
#deb http://ftp.debian.org/debian bookworm main contrib

#deb http://ftp.debian.org/debian bookworm-updates main contrib

# security updates
#deb http://security.debian.org bookworm-security main contrib
deb http://download.proxmox.com/debian/pve bookworm pve-no-subscription
deb http://security.debian.org/debian-security bookworm-security main contrib


deb https://mirrors.huaweicloud.com/debian/ bookworm main non-free non-free-firmware contrib
deb-src https://mirrors.huaweicloud.com/debian/ bookworm main non-free non-free-firmware contrib
deb https://mirrors.huaweicloud.com/debian-security/ bookworm-security main
deb-src https://mirrors.huaweicloud.com/debian-security/ bookworm-security main
deb https://mirrors.huaweicloud.com/debian/ bookworm-updates main non-free non-free-firmware contrib
deb-src https://mirrors.huaweicloud.com/debian/ bookworm-updates main non-free non-free-firmware contrib
deb https://mirrors.huaweicloud.com/debian/ bookworm-backports main non-free non-free-firmware contrib
deb-src https://mirrors.huaweicloud.com/debian/ bookworm-backports main non-free non-free-firmware contrib

# vi /etc/apt/sources.list.d/ceph.list
#deb https://enterprise.proxmox.com/debian/ceph-quincy bookworm enterprise
deb http://download.proxmox.com/debian/ceph-reef bookworm no-subscription
2,升级系统
apt-get update
apt-get dist-upgrade -y

apt-get install lsof vim ntpdate -y
ntpdate -d ntp.ntsc.ac.cn
3,到图形化界面,登录用户名是root,密码是安装系统时设置的
https://IP:8006
能打开这个界面说明proxmox已经安装完毕,安装过程很简单。
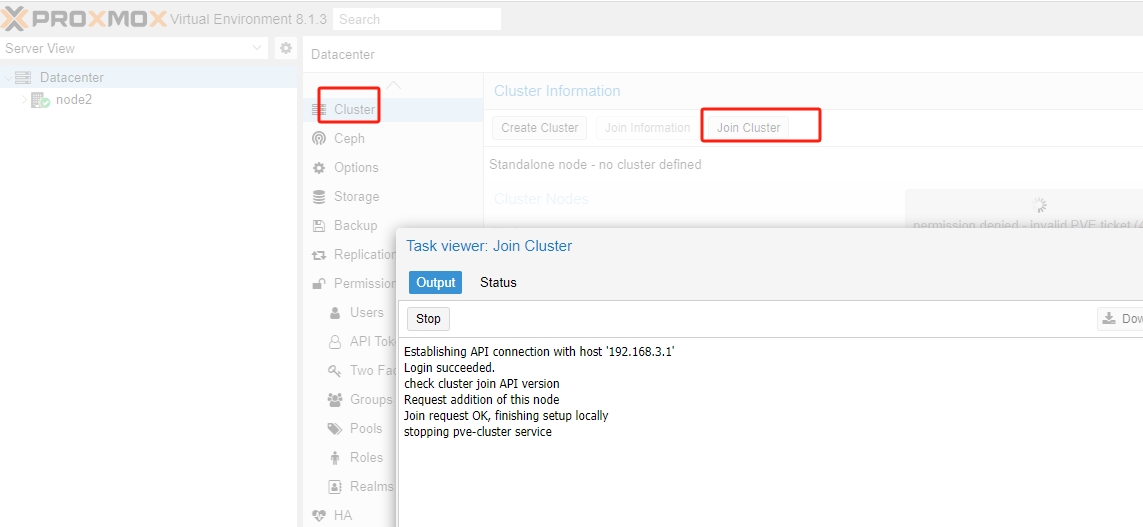
把另外2台也安装好,这3台主机做一个集群,把另外2台加入到集群
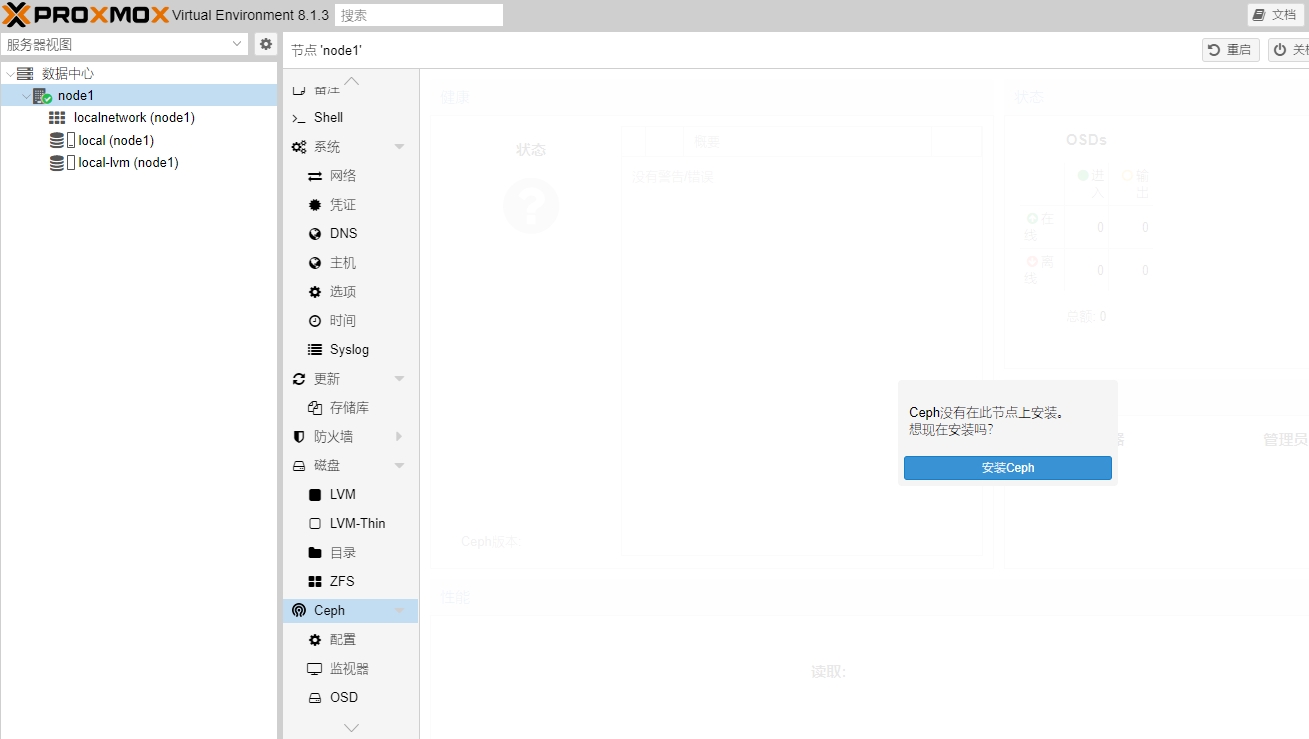
安装ceph,作为存储
磁盘不能直接加入,是因为以前装过proxmox,磁盘是使用过的,所以需要先destroy销毁,这一步不是必须
for i in {a..v};do echo $i; ceph-volume lvm zap /dev/sd$i --destroy;done
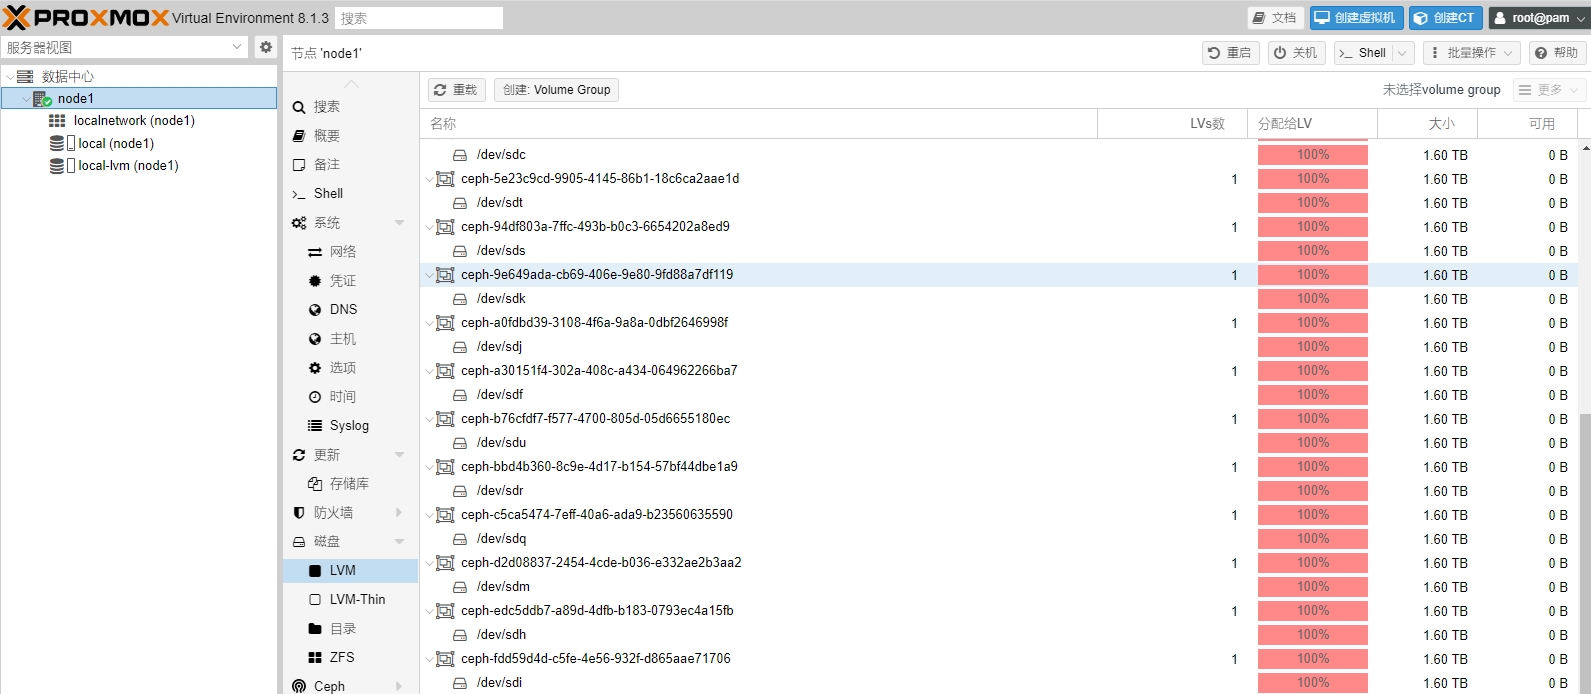
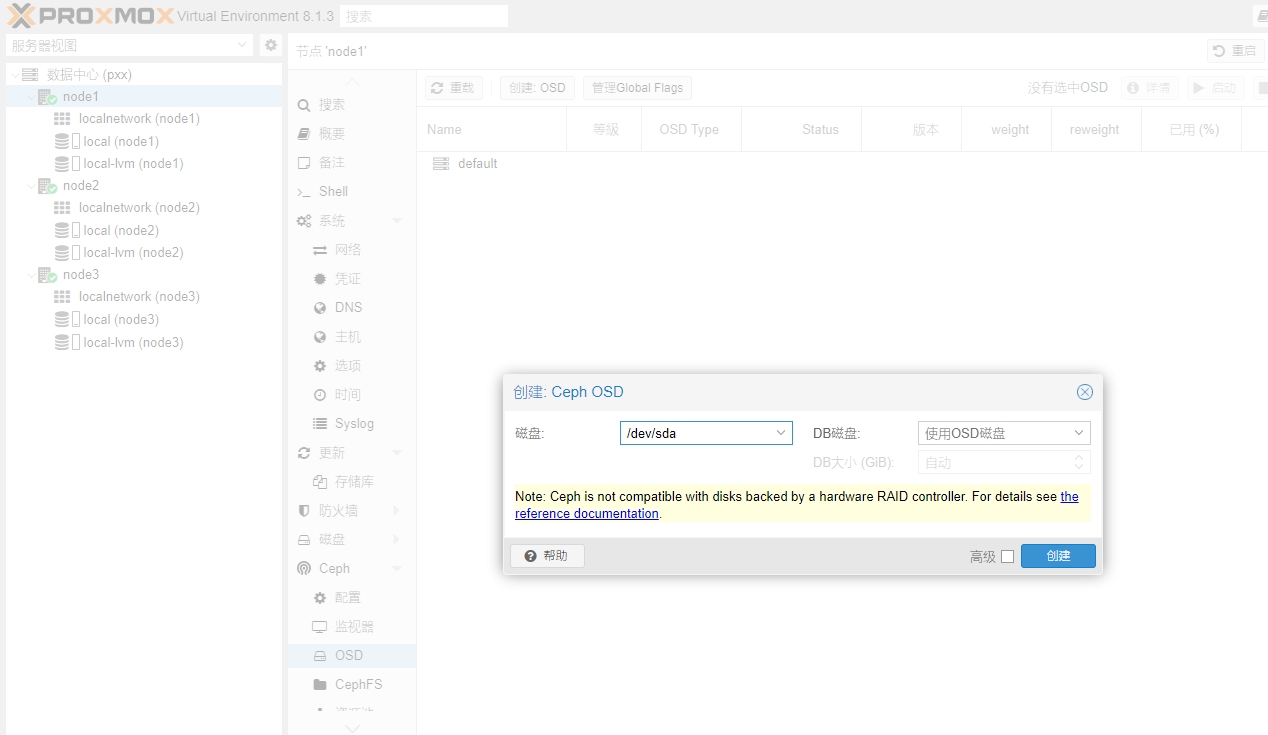
配置ceph存储,创建OSD
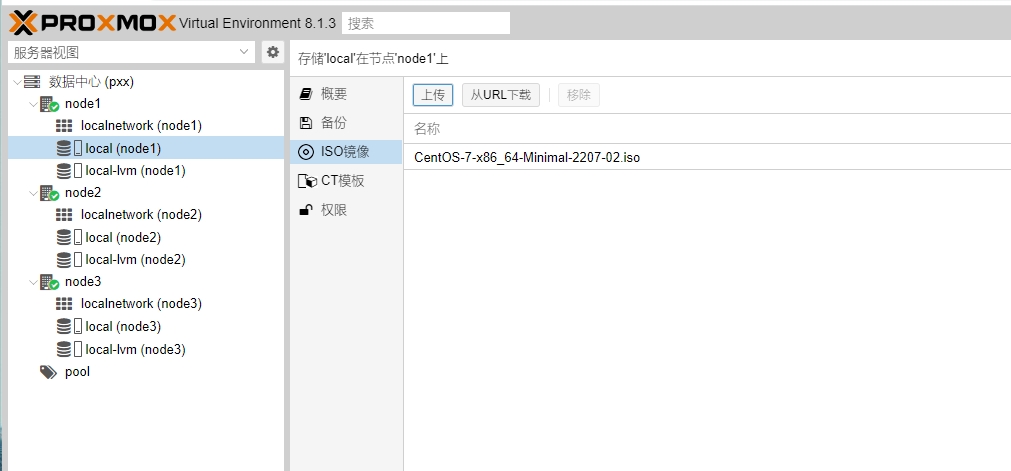
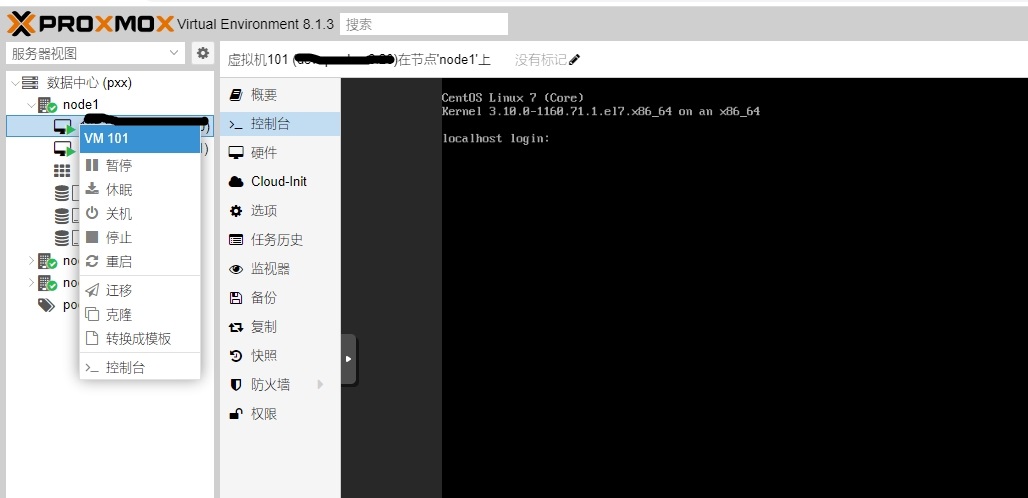
存储创建后,就可以上传centos ISO镜像,创建虚拟机了
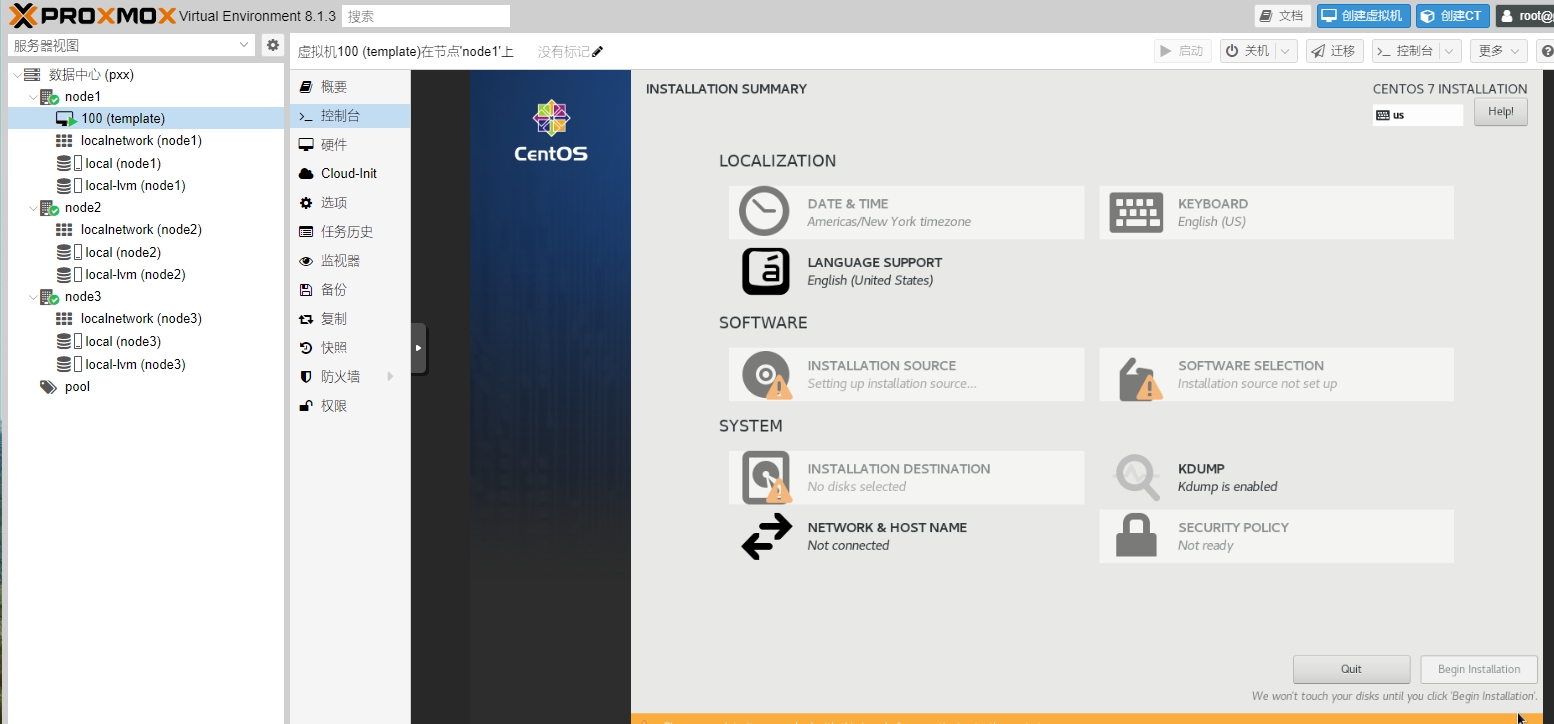
安装centos系统
安装后查看proxmox集群
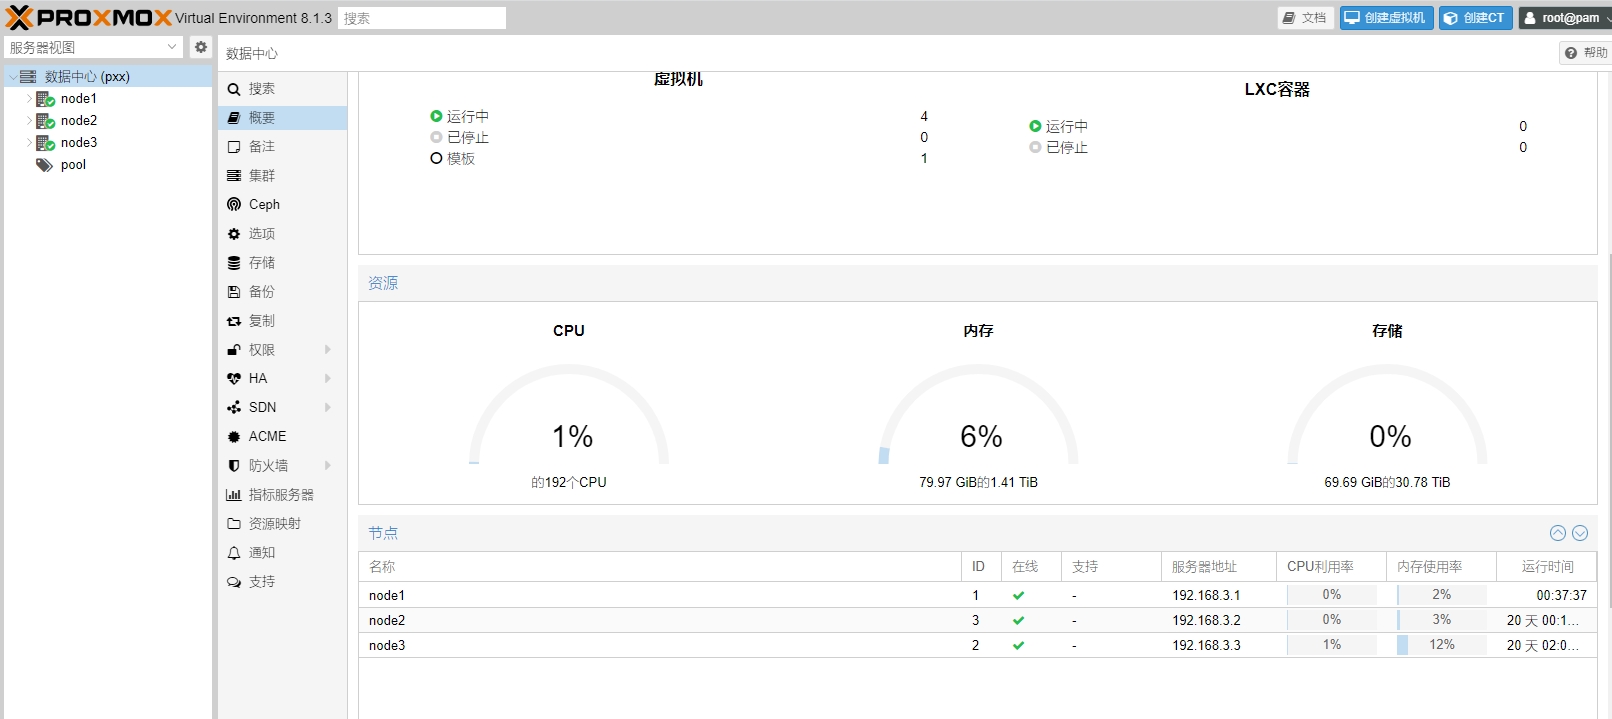
安装后查看创建的虚拟机,图形化界面可以直接输入命令,并且有监控
ceph存储还需要做的事情: 1,监视器,ceph 3个节点都加入monitor 2,CephFS,元数据服务器添加3个节点 3,资源池,创建资源池
使用总结: 1,proxmox集群安装简单,并且不收费,没有什么特别的配置,图形化界面简单、方便。ceph存储集群在图形化界面就能完成配置,和手动安装配置ceph来说简直天壤之别。 2,主机创建完成后可以做成模板,下次创建主机直接使用,CPU、内存、磁盘也可以调整,创建主机选择资源池,方便迁移 3,官方文档很详细,集群的各种网络模式也考虑到了,其他设置自己摸索。参考Proxmox VE文档
2023年12月31日 于 linux工匠 发表